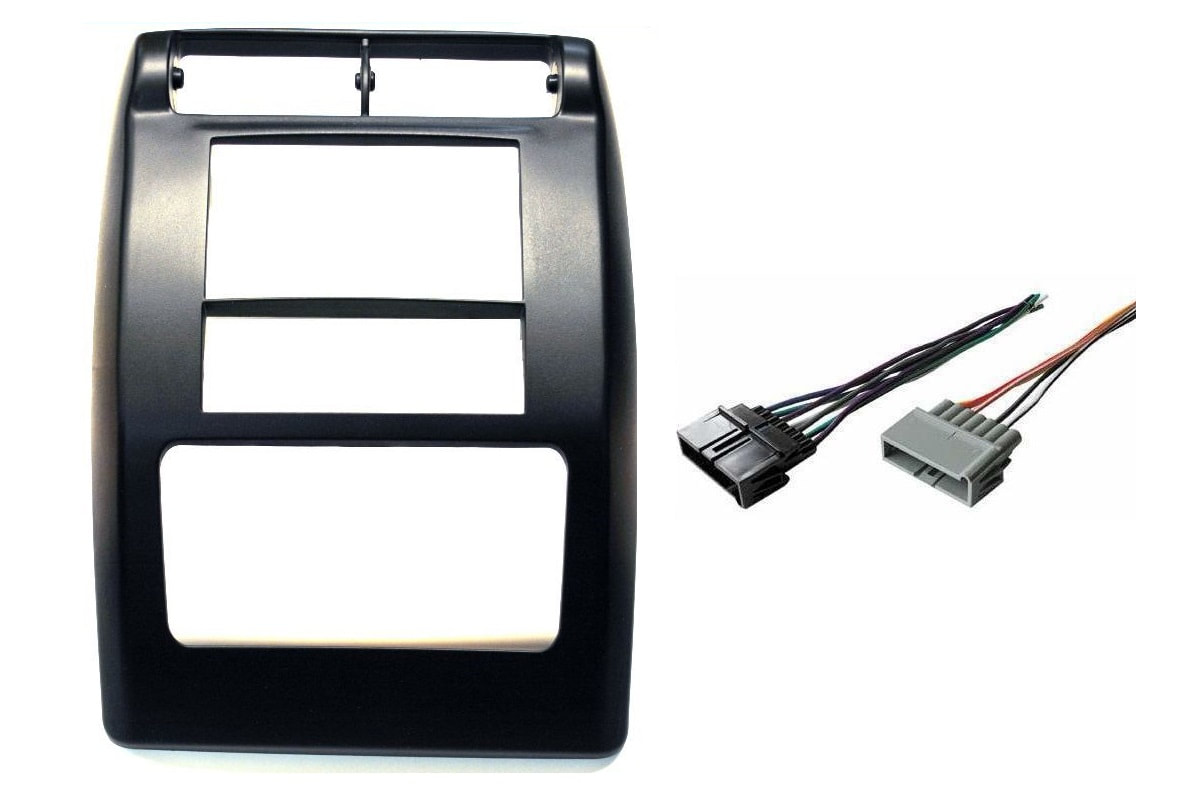

Double Din Dash Kit - Wrangler 1997-2002
There are modifications, fabrications and additional parts needed for this process!
But it is WELL worth the installation!
You won't see this ANYWHERE for this price!!
GET A FLAWLESS FIT AND UNIFORMED LOOK!
There are modifications needed for installation...
Step 1: Prepare your installation but removing everything from dash to expose the plastic shelf above the heater controls.
Step 2: Cut out shelf to make additional space. (Note: Leave about 1/2" of the shelf on each side which you will need later for mounting the unit)
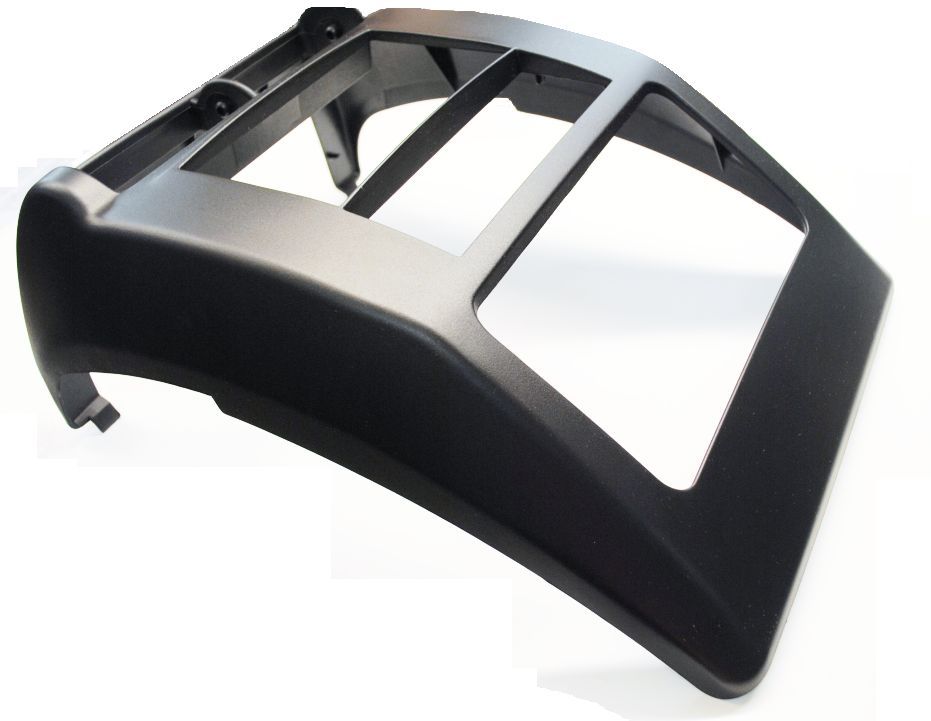
Step 3: You will have to create a flat stock (1/16" x 1") bracket to hold mounting brackets. Pop Rivet the brackets in place on each side of the opening. (This is why you need the extra material from the shelf to be left in place, otherwise there would be no place to rivet on the bottom.)
Step 4: You will need to create some sort of spacer to move the face of the heater control panels forward to face up to new bezel. Just remove the four screws and install spacers in between the dash and the panel then reinstall the 4 screws. They are 5/16" long and depending on how long your exsisting screws are you may have to use longer ones.
Step 5: When converting to the 2003-06 center bezel you lose the ash tray and the small switch bezel so you will need the newer 4-Switch bezel with the flat blank tray and dual power outlets. The mounting screws on the left side line up with the new switch bezel but the right side needs to be drilled and fasteners need to be installed for mounting. (Note: On the 97-02 dash you can't install the right hand power outlet as there is no recess in the dash and it will not work.)
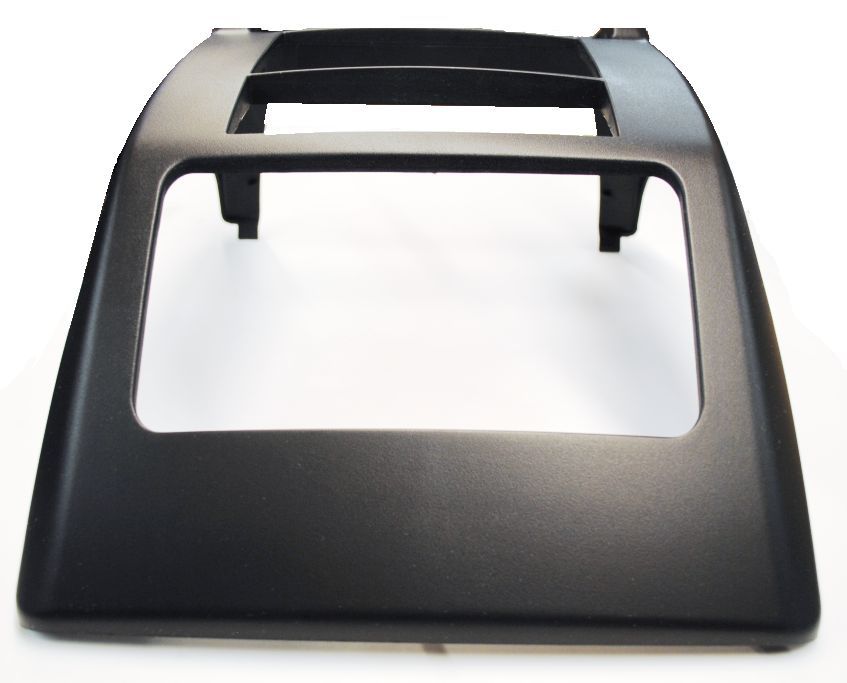
Step 6: Once the unit fits into the opening and you have adjusted it for depth, elevation, and right/left alignment. To temporarily set, tape a piece of the 1/16" flat stock on top of the heater panel and sit the unit right on to see if any adjustments are needed. Depth is just a matter of moving the supplied mounting brackets in or out by adjusting the screws. Left and Right can be a challenge but I found that the supplied brackets have an upper and lower mount and the lower mounts have to be trimmed to fit in between the sockets for the bezel friction clips. (Note: The sockets are on each side of the lower radio opening, trim equal amounts from each side, a little at a time, this will help keep the unit centered in the opening.
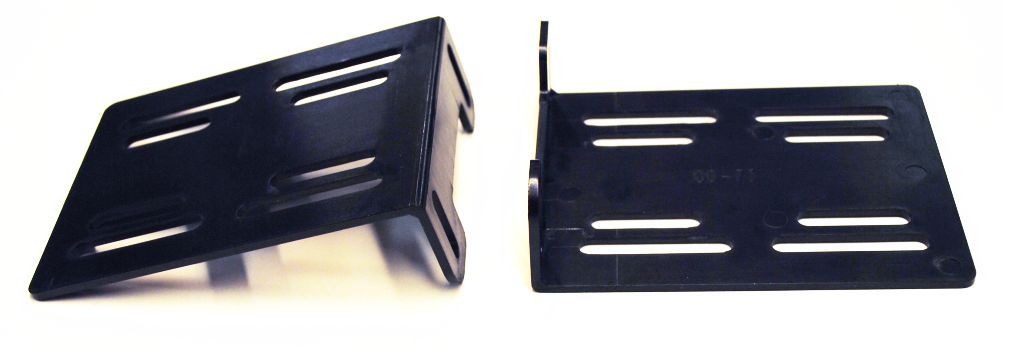
Step 7: There are two sets of firction clips on the center bezel and the upper set doesn't line up with the early models, the lower set does, but the stability might not be to your liking. We simply drilled and installed 2 screws through the bezel into the dash that are hidden at the bottom curve of the bezel.