- Store
- >
- Automotive Accessories
- >
- Jeep
- >
- Wrangler
- >
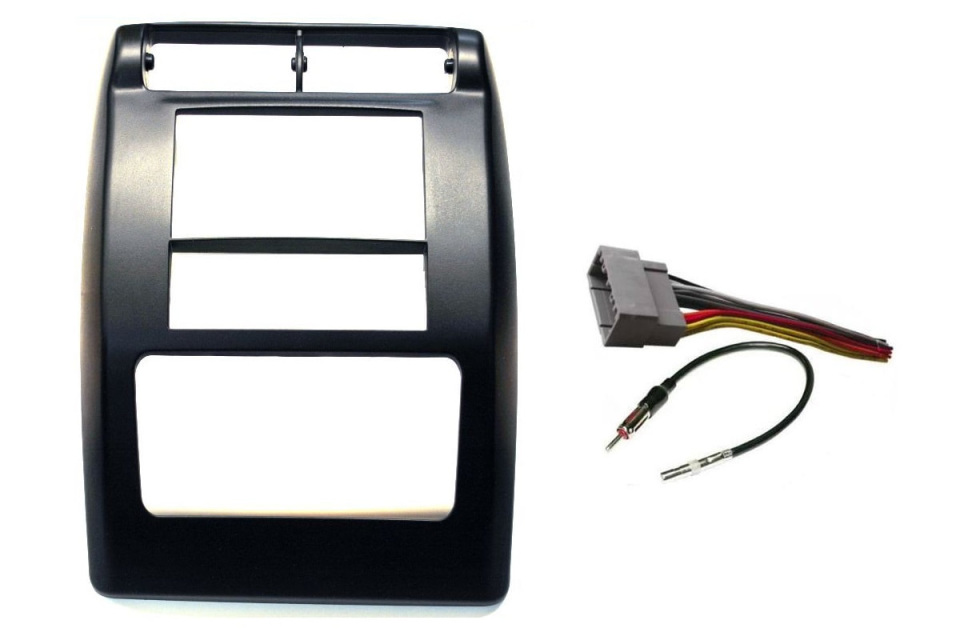
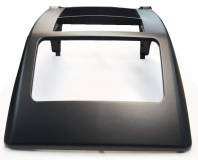
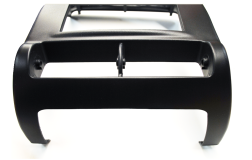
- Double Din Dash Kit- Wrangler 2003-2006
Double Din Dash Kit- Wrangler 2003-2006
SKU:
DD-73 + 303 + cr6
$72.99
$72.99
Unavailable
per item
3 available
Here's a small review from one of our HAPPY customers!
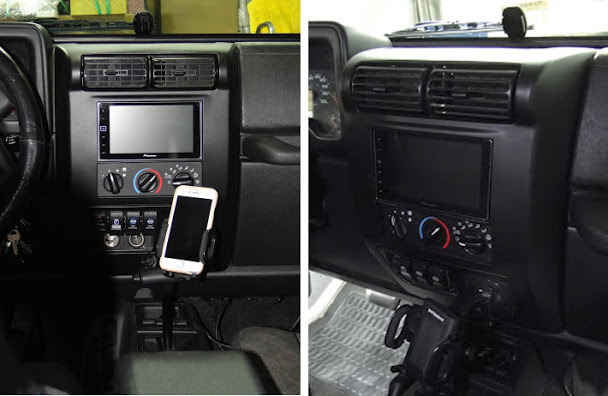
"This kit is absolutely LEGIT! The quality is top notch. It fits like a glove and looks completely stock. No offense to the DIY jobs done by some of the members here. I applaud the effort and some of them came out pretty clean, but I'm too much of a perfectionist to be happy with a glass/Bondo conversion. Especially now that this kit is available for only $150 and installs in under two hours!"
"This kit is absolutely LEGIT! The quality is top notch. It fits like a glove and looks completely stock. No offense to the DIY jobs done by some of the members here. I applaud the effort and some of them came out pretty clean, but I'm too much of a perfectionist to be happy with a glass/Bondo conversion. Especially now that this kit is available for only $150 and installs in under two hours!"
Modifications required:
1) Making room,
For my 2003 TJ, (model years may vary) I had to remove a plastic section of the dash which divides the radio compartment from the HVAC controls below. A hand held hack saw blade and 5 minutes got that done. No other cutting/trimming was required.
2) Coin tray transplant,
The small coin tray located at the top of my factory dash just below the windshield needs to be removed and transplanted to the new custom dash. The tray is held in place by 5 small plastic tabs which need to be bent up and released. A small sharp edged screwdriver did the trick. I decided to use a double layer of 3M double sided tape to hold my tray in place on the new dash rather than bend the potentially fragile new tabs down. Epoxy would probably also work well.
Difference between the factory and custom dashes:
They squared off the corners around the HVAC opening. Nice touch IMHO.
This image has been resized. Click this bar to view the full image.
3) Retention clips,
The kit includes a set of (x4) metal dash retention clips that need to be fitted to plastic tabs at the back side of the new dash. These are identical to the factory clips. No mystery there.
This image has been resized. Click this bar to view the full image.
4) Mounting brackets
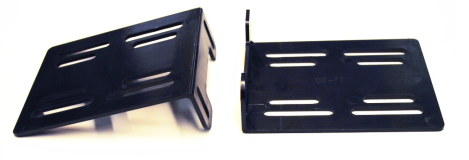
The kit includes a set of (x2) L-brackets and associated hardware which secure the head unit to the dash. these brackets simply screw onto either side of the head unit and then into the factory radio mount locations. I would have preferred metal brackets but the plastic ones provided seem sturdy enough for now. I did order a stronger metal bracket kit which will replace these in a week or so. The included brackets are slotted to allow a fair amount of adjustment up, down and side to side.
5) Wiring
The kit includes a wire harness adapter with a TJ specific female clip on one end that clips into the factory radio harness. The other end is open and needs to be spliced into the aftermarket head unit harness. The plastic coatings on the harness leads are all specifically marked (Pos, Memory, Remote, etc.) to simplify the splicing process.
6) Test run
I powered up the unit BEFORE reassembling the dash to ensure the wiring was in order. My AppRadio4 has a maze of input/output and accessory cables. It would really suck to have overlooked one of more than a dozen connections and completed the dash reassembly. The kit also includes an antenna cord extension. I had plenty of slack in my existing cord so I left that out.
This image has been resized. Click this bar to view the full image.
DONE!
